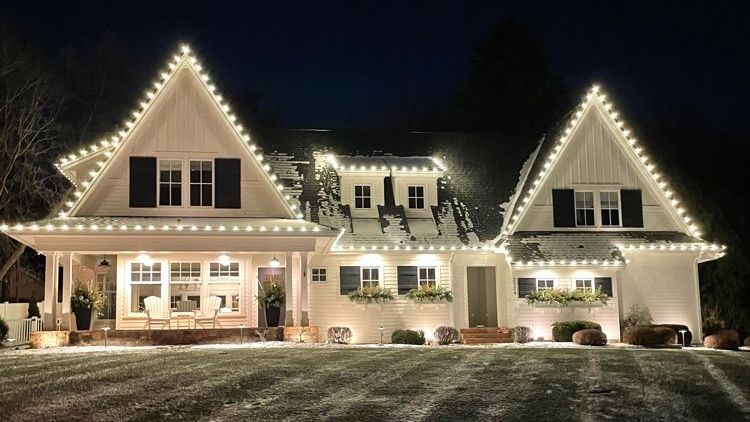
Decorating your home with Christmas lights is one of the joys of the holiday season. However, if your home has gutter guards, you may face unique challenges when hanging lights. Gutter guards are excellent for keeping debris out of your gutters, but they can complicate light installation. Don’t let this stop you from achieving a beautiful holiday display! Here’s a step-by-step guide to safely and effectively hang Christmas lights on gutter guards.
Why Gutter Guards Require Special Attention
Gutter guards are designed to protect your gutters, but their design can obstruct access for hanging lights. Here are a few key challenges:
- Blocked Access: Gutter guards cover the lip of the gutters, making it tricky to secure lights.
- Weight Considerations: Overloading your gutters with lights can damage guards or cause gutters to detach.
- Attachment Points: Without exposed edges, finding secure spots to attach light clips requires creativity.
With the right tools and techniques, you can navigate these challenges and achieve a festive, damage-free display.
Tools and Materials You’ll Need
Before starting, gather the following tools and materials:
- Christmas Lights: LED lights are energy-efficient and lightweight, making them ideal for gutter installations.
- Gutter Clips: Use clips designed for gutter guards. They attach securely to the front lip without causing damage.
- Extension Cords: Ensure they are outdoor-rated and long enough to reach your power source.
- Ladder: Use a sturdy ladder that provides safe access to your gutters.
- Safety Gear: Gloves, non-slip shoes, and a buddy to assist you are essential for safe installation.
- Light Hanging Pole (Optional): A pole can help with hard-to-reach areas.
Step 1: Plan Your Layout
Before you start hanging lights, map out your design. Decide where the lights will go, how many strands you’ll need, and where your power sources are located. Measure your roofline and gutters to ensure you have enough lights and clips.
Pro Tip: Use a sketch or blueprint of your home to visualize your design. This will save time and help avoid last-minute changes.
Step 2: Test Your Lights
Plug in your light strands to check for any issues. Replace burnt-out bulbs or faulty sections before installation. This step ensures you’re not troubleshooting once the lights are already in place.
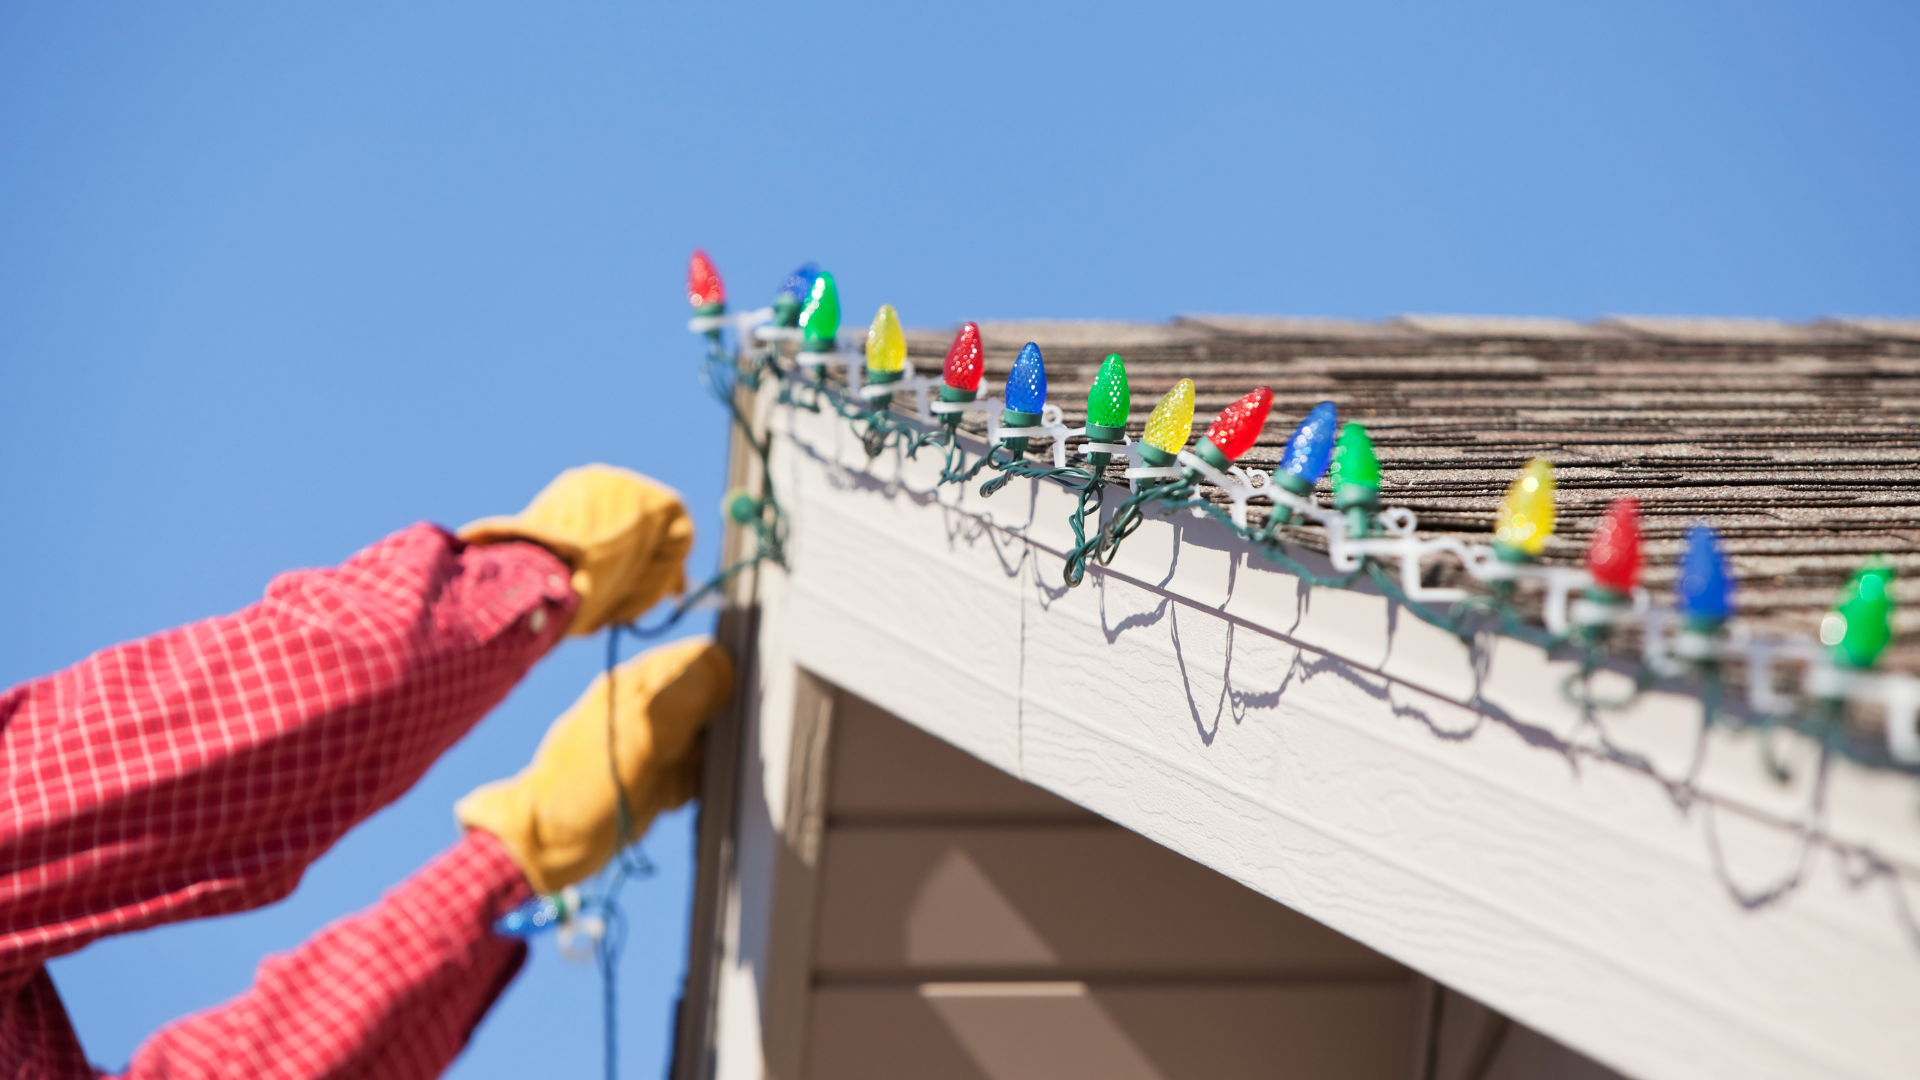
Step 3: Attach Gutter Clips
Carefully attach the gutter clips to the front edge of the gutter guard. Space the clips evenly—about 6 to 12 inches apart—for consistent support. Avoid forcing the clips, as this can damage the guards.
Types of Clips to Consider:
- Universal Clips: Designed for various surfaces, including gutter guards.
- Binder Clips: An easy, budget-friendly option for temporary displays.
- Specialized Gutter Guard Clips: Securely snap onto the guard’s edge without causing damage.
Step 4: Secure the Lights
Starting near your power source, attach the lights to the clips. Work methodically, securing each section before moving to the next. Avoid over-tightening, which can strain the light strands and damage the clips or guards.
Pro Tip: Use a timer or smart plug to automate your display. This saves energy and ensures your lights turn on and off at consistent times.
Step 5: Manage Wires and Extensions
Use outdoor-rated extension cords to connect your light strands to the power source. Secure the cords along the gutter line or roof edge to prevent tripping hazards and ensure a clean look. Weatherproof your connections with electrical tape or waterproof cord covers.
Step 6: Inspect Your Work
Once your lights are hung, step back and inspect your display from a distance. Look for uneven sections, sagging lights, or exposed cords. Adjust as needed to achieve a polished and professional appearance.
Step 7: Maintain Your Display
Throughout the season, keep an eye on your lights and gutters. After heavy winds or snowfall, check for loose strands or displaced clips. Regular maintenance ensures your display remains safe and stunning.
Safety Tips for Hanging Lights on Gutter Guards
- Work on a Stable Surface: Ensure your ladder is placed on level ground and have someone hold it steady.
- Avoid Overloading Gutters: Use lightweight LED lights to reduce strain on your gutters and guards.
- Stay Weather-Aware: Install lights on a clear, dry day to avoid slipping or damaging your lights during wet conditions.
When to Call the Professionals
If you’re short on time, uncomfortable with heights, or unsure how to safely install lights on your gutter guards, hiring a professional service is the best solution. Jingle Bulbs Christmas Lighting specializes in hassle-free holiday lighting installation. Their team uses safe techniques and high-quality materials to create stunning displays while protecting your property.
Brighten Your Holidays with Gutter-Friendly Lights
With the right approach, hanging Christmas lights on gutter guards can be a smooth and enjoyable process. By following these steps and prioritizing safety, you’ll create a festive display that spreads holiday cheer without compromising your gutter system.
For a professional touch and stress-free holiday season, reach out to Jingle Bulbs Christmas Lighting. From design to installation and maintenance, their experts ensure your home shines bright all season long. Contact them today to schedule your consultation!