How to Hang Christmas Lights with Gutter Guards: A Step-by-Step Guide
The holiday season is just around the corner and we cannot be more excited about it! The weather is cooling down and the days are getting shorter. This means it's time to start thinking about your Christmas decorating game plan! Where do you want your lights to go? What color or colors do you want to incorporate? Will you have lights around the whole house or just the front? There’s a lot to think about when it comes to planning how you want your home to look. However, one barrier you may not think about during the planning phase are gutter guards. These guards are used to keep debris out of your gutters, but they can also cause some headaches when it comes to hanging lights. But don’t worry, the experts at
Jingle Bulbs Christmas Lighting have got you covered! In this blog we have created a step by step guide on how to put up Christmas lights with gutter guards. Read on to learn how to protect your gutter system and get the Christmas light display of your dreams.
Why Installing Christmas Lights with Gutter Guards Requires Special Attention:
Gutter guards were designed to prevent leaves, twigs and other debris from clogging up rain gutters and downspouts on residential or commercial buildings. These guards are installed on top of or inside the gutter system to help maintain proper water flow and drainage. They are an excellent tool that many homeowners highly recommend for easy maintenance. Unfortunately, they can present a unique challenge when it comes to hanging Christmas lights and here’s why:
Blocked Access
Gutter guards are designed to prevent debris from entering the gutters, but they can also obstruct access to the gutter system in general. This can make it more challenging to install or maintain hanging lights, as you may need to remove or work around the guards.
Weight Considerations
The guards can vary in design and material, and some can add weight to the gutter system. When hanging lights, especially if they are heavy or if you plan to use a significant number of lights, you need to consider the additional load that the gutters and guards can bear. Overloading the gutter system could lead to damage or detachment from the roof. That would put a damper on the holiday decorating fun….
Attachment Points
Gutter guards typically cover the top of the gutter, which means you may need to find suitable attachment points for your lights. Attaching lights directly to the guards can be challenging, as they may not be designed to support additional weight. You might need to attach the lights to the roof or the fascia board, which can require special hardware and careful installation. More on this later in the blog.
Avoiding Damage
Gutter guards are an investment in your home's maintenance so you will want to avoid any actions that could cause damage. Before and after hanging lights, inspect your gutter guards for any signs of damage or displacement. Look for bent or dented sections, loose fasteners, or areas where the guards may have been shifted during the installation process. Promptly address any issues to maintain the guards' functionality.
Wiring Considerations
When hanging lights with gutter guards in place, you must plan the wiring carefully. Ensure that the wires are properly secured and protected against damage from falling debris or exposure to the elements. It's essential to use outdoor-rated extension cords and follow safety guidelines when working with electrical components outdoors.
Materials and Tools You'll Need to Hang Lights on Gutter Guards:
List of Services
-
Your Chosen Christmas LightsList Item 1
We highly recomment using LEDs due to their energy-efficiency and durability. LEDs come in all sorts of different styles and colors, so you'll be able to find something that works with your vision.
-
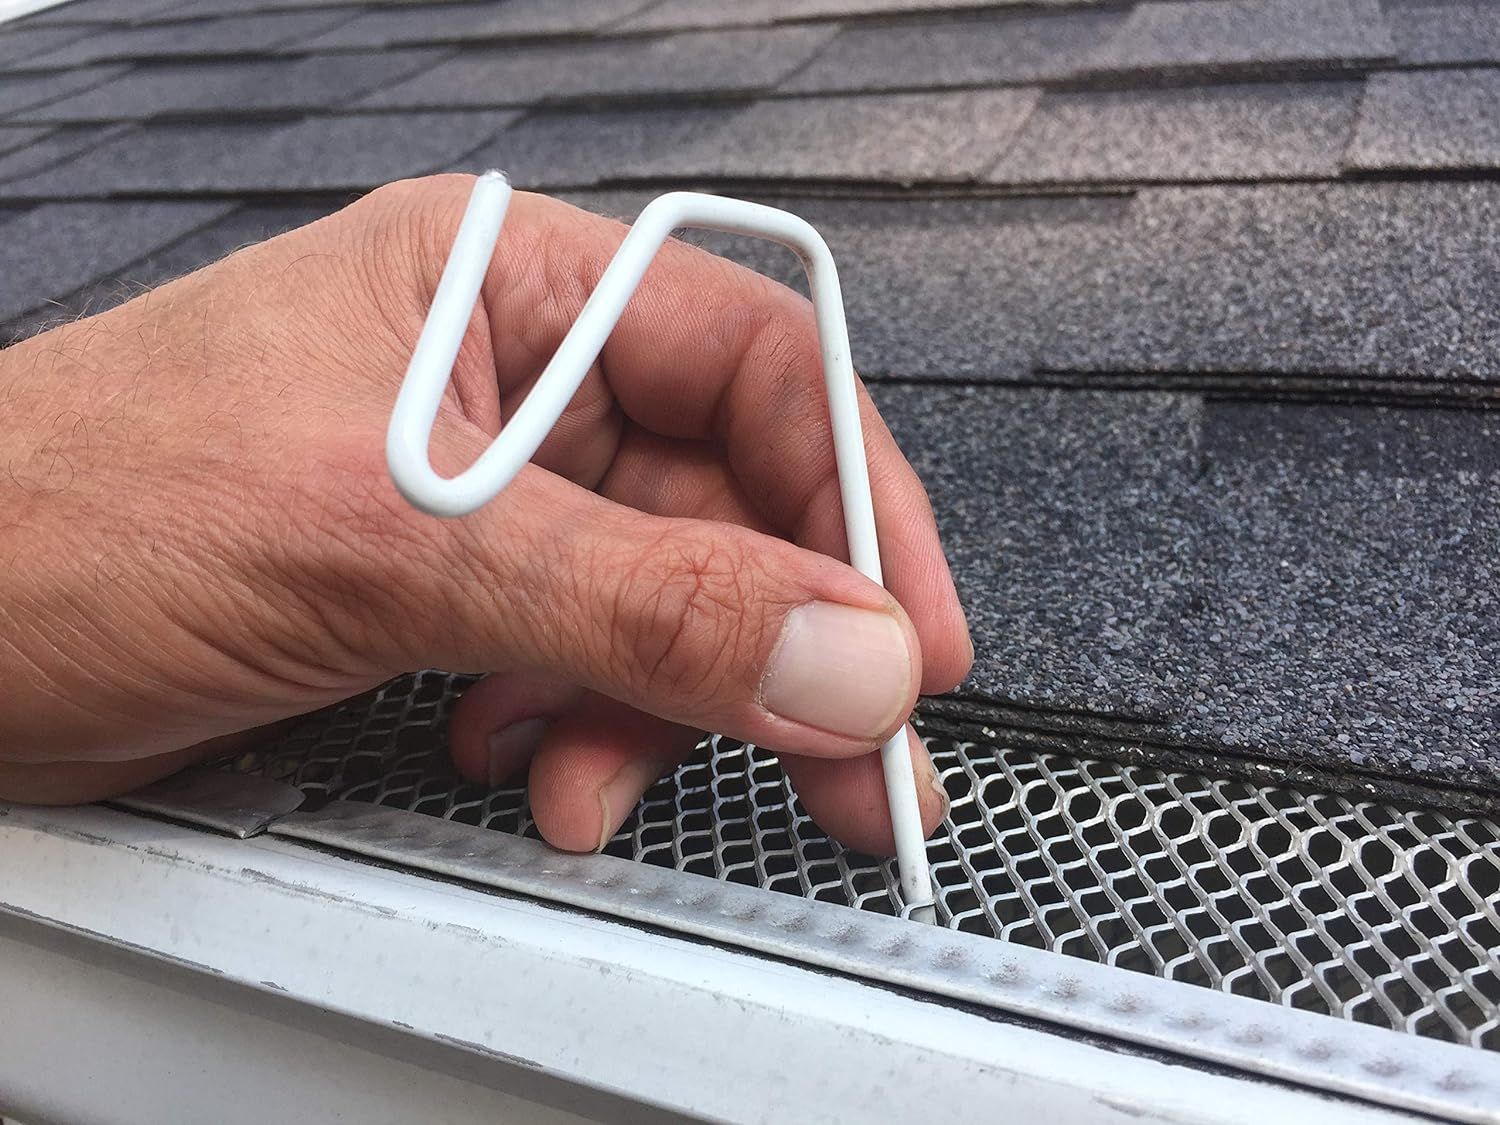
Gutter ClipsList Item 2
Make sure you purchase the clips that are specifically used for gutter guards. These clips are designed to attach to the front lip of the gutter without causing damage.
-
Extension CordsList Item 3
If you plan on covering a large area, you’ll definitely want to have enough extension cords. Just make sure they are rated for the outdoors.
-
LadderList Item 4
If you have a high pitched roof or tall trees to cover, a ladder is a must. Another great option for hard to reach places is a christmas light hanging pole!
-
Safety Gear
What kind of safety gear you might be wondering? We suggest using gloves, appropriate footwear and eye protection. Another good safety measure to consider is having a buddy there to be a spotter or help assist with the project.
Step-by-Step Guide to Hanging Christmas Lights with Gutter Guards:
Now let’s get into the steps you’ll need to take to ensure a safe and damage-free Christmas light installation.
1.Plan Your Layout: Before climbing your ladder, make sure you
have a plan of where you want to place your lights. It is always a good idea to take down measurements to determine the length of lights and how many extension cords you will need. You’d hate to have all of your lights hung and realize you are missing a huge section!
2. Gather All Your Materials and Tools: Remember our list of materials you’ll need for this project? Now is the time to get those all together ie. the lights, gutter clips, extension cords etc.
3. Inspect Your Lights: You’ll want to make sure your lights are in good working order. Plug them in first to see if any bulbs need replacing before installation.
4. Set Up Your Ladder: Position your ladder on a stable and level surface. Make sure it is tall enough to reach the gutter or eaves where you plan to hang the lights. Angle the ladder correctly, following proper ladder safety guidelines. This is where having a buddy comes in handy!
5. Attach Clips: Carefully attach the clips to the front edge of your gutter guards, distributing them evenly in order to support the weight of the lights. Space your clips about 6 to 12 inches apart, depending on how you want your lights to hang. Be gentle and avoid bending or damaging the guards.
6. Secure the Lights: Begin at the end of your gutter closest to a power source and attach the lights to the hooks or clips. Avoid attaching lights directly to the gutter guards as this can cause damage.
7. Follow the Gutter Line: Continue attaching the lights along the gutter line or eaves, making sure they are evenly spaced and follow a straight path. Avoid attaching lights too tightly, as this can cause stress on the guards.
8. Use Extension Cords Safely: If you need extension cords to reach a power source, use them sparingly. Secure them along the roofline or other inconspicuous areas to prevent tripping hazards. If you did a good job planning out your layout you’ll know exactly where and when to use these!
9. Set Up a Timer: After you have plugged in your newly hung lights to test that they are all still working, we recommend getting a timer. A timer will help save energy and also make it more convenient to turn your lights on and off everyday.
10. Regular Maintenance: Throughout the holiday season, you will want to periodically inspect the lights and gutter guards for any issues. Remove any debris that may accumulate on or around the lights or guards to maintain their effectiveness. We also highly recommend taking your lights down right away after the holiday season to avoid potential damage a winter storm could cause.

Conclusion
By following these steps and exercising caution, you can hang Christmas lights on your house with gutter guards without causing damage to the guards and still create a festive and safe Christmas light display. However, if these steps seem to be too much for you or you want more time to enjoy your holiday, reach out to our team at Jingle Bulbs Christmas Lighting. We take great pride in our work and always take proper precautions to protect your property from any damage.
So whether you decide to decorate your home yourself or opt for the professional touch, just remember to always prioritize safety so you can spend this joyous time with the ones you love most.