The holidays are around the corner, and it’s time to transform your home into a dazzling beacon of festive cheer! Whether you’re aiming to outshine your neighbors or create a collaborative display that brings your community together, crafting the perfect Christmas lights display can be a joyful and rewarding experience. Here’s how you can make your neighborhood shine like never before.

Plan Before You Plug In
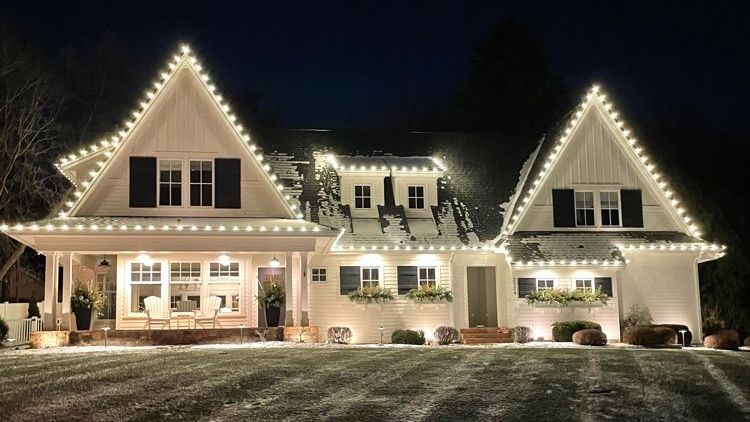
Before rushing to untangle your light strings, take some time to map out your display. Walk around your property and envision where lights will look their best—rooflines, windows, trees, pathways, and even fences. Draw a simple sketch and measure the spaces you want to decorate to determine how many lights you’ll need.
Planning your display avoids last-minute headaches and ensures you have enough materials to bring your vision to life. If you’re unsure where to start, Jingle Bulbs Christmas Lighting offers expert design consultations to help homeowners create captivating displays without the hassle.
Pick the Perfect Lights
Choosing the right lights is essential. LED lights are the go-to choice for modern displays—they’re energy-efficient, long-lasting, and available in various colors and styles. Consider mixing different types of lights for variety:
- C9 or C7 Bulbs: These larger bulbs are perfect for rooflines and driveways.
- Mini String Lights: Great for wrapping trees, bushes, and railings.
- Icicle Lights: Add a magical winter effect to eaves and fences.
Ensure your lights are rated for outdoor use and test them before installation to avoid any surprises mid-project.
Collaborate with Neighbors
A single stunning display is nice, but an entire street decked out in holiday lights is a showstopper. Talk to your neighbors and propose a coordinated effort to create a unified theme or a friendly competition. This not only elevates the visual impact but also strengthens community bonds.
Some theme ideas:
- Winter Wonderland: Use white and blue lights to mimic snowy serenity.
- Candy Cane Lane: Alternate red and white lights for a whimsical touch.
- Classic Christmas: Stick to green, red, and warm white tones for a traditional feel.
Master the Installation Process
Hanging lights can be tricky, but with the right tools and techniques, it becomes a breeze. Here are some tips for a smooth installation:
- Use Light Clips: Avoid nails and staples, which can damage your property. Plastic clips are easy to attach and won’t harm your roofline or gutters.
- Work Safely: Use a sturdy ladder, wear non-slip shoes, and never stretch too far to place lights. Always have a spotter when working on high areas.
- Hide Wires: Tuck extension cords neatly along walls or use cord covers to prevent tripping hazards.
If heights or logistics feel overwhelming, leave it to the professionals. Jingle Bulbs Christmas Lighting handles everything from installation to removal, ensuring your display is flawless and safe.
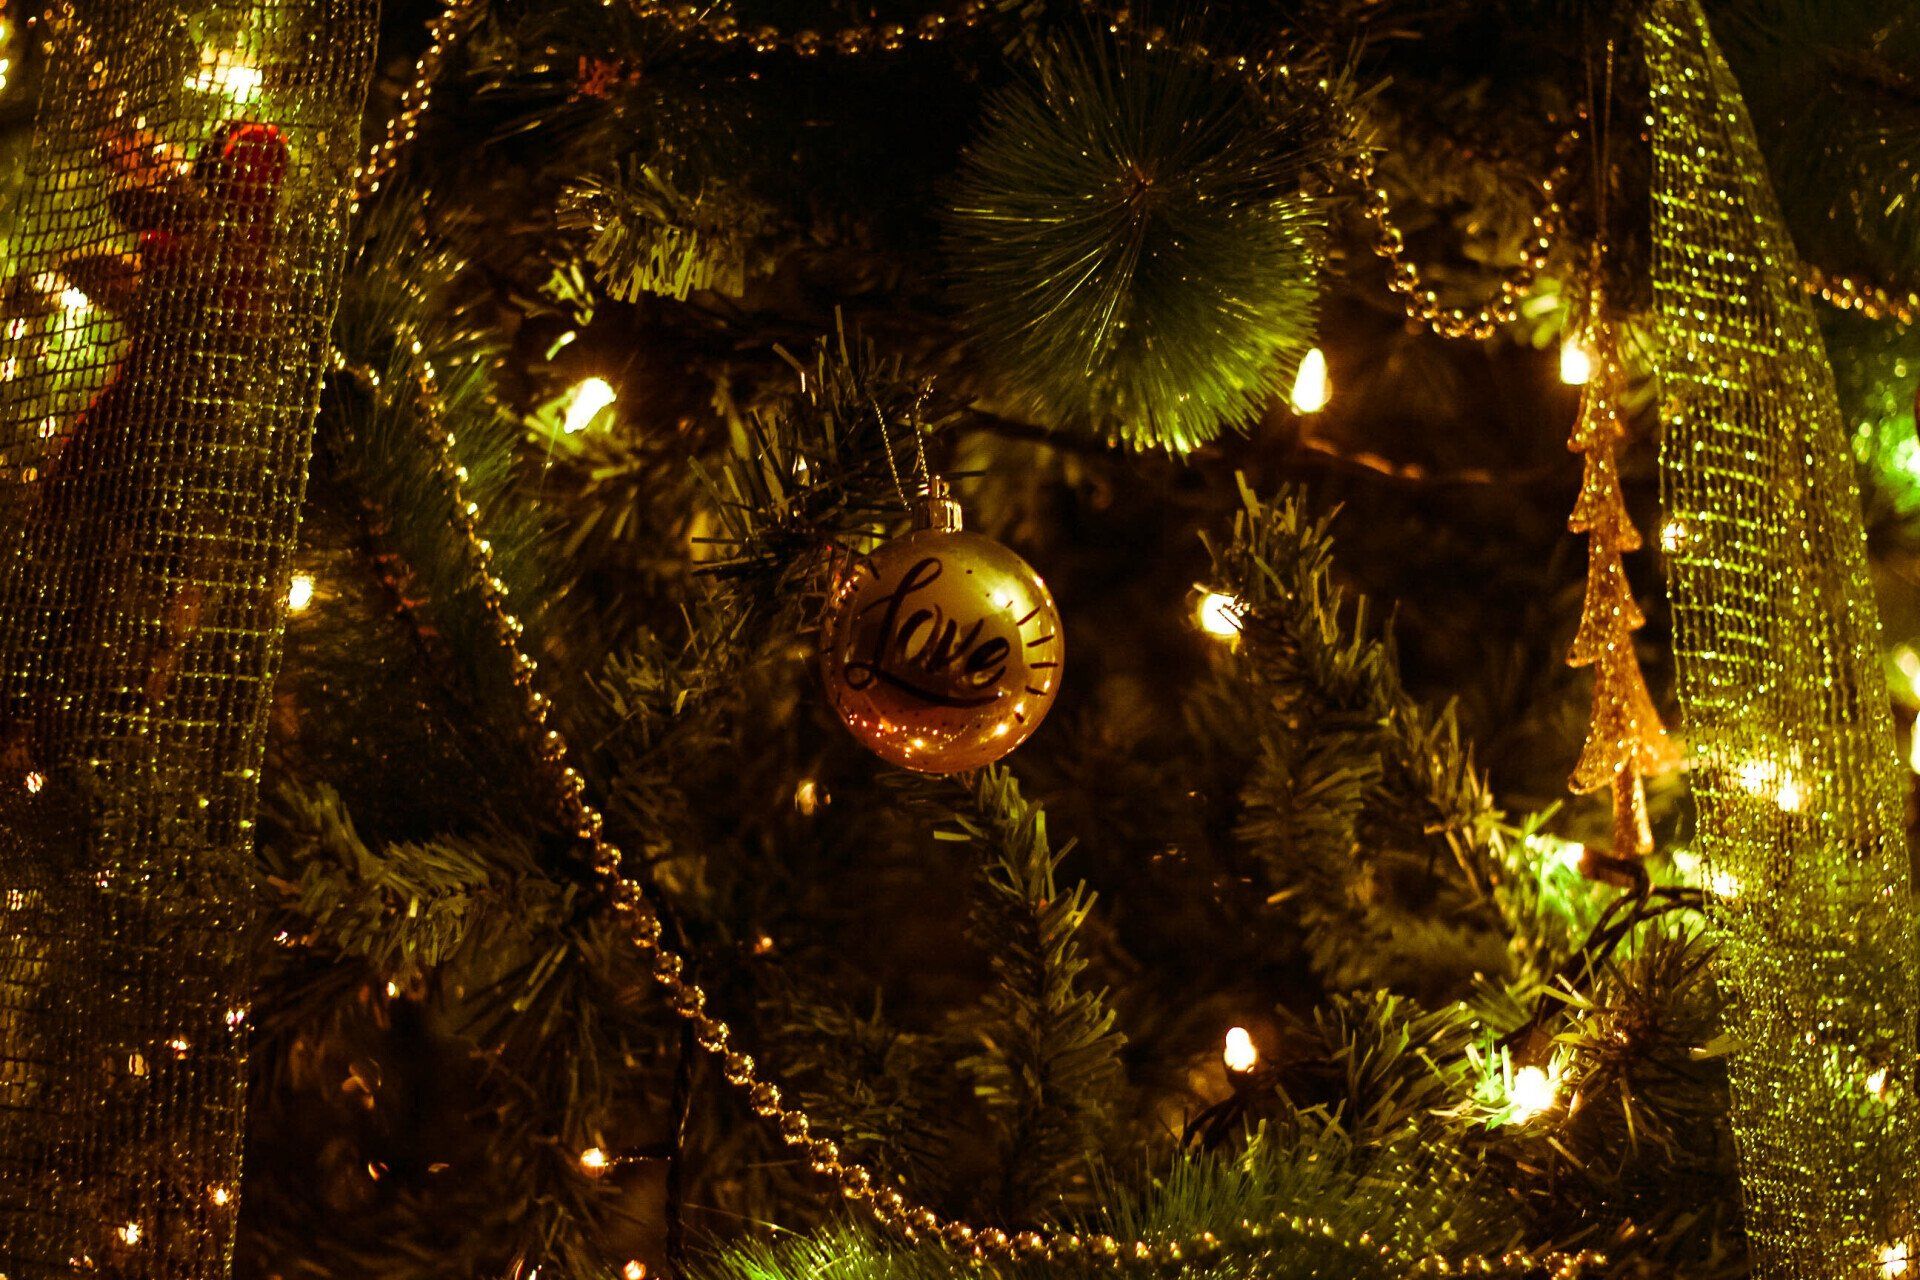
Add Creative Touches
Take your display beyond the basics by incorporating creative elements that reflect your personality:
- Lawn Decorations: Add glowing reindeer, Santa’s sleigh, or inflatable snowmen for a festive scene.
- Animated Displays: Use synchronized lights and music to create a mini holiday show.
- Natural Enhancements: Wrap tree trunks and branches with twinkling lights to create depth and dimension.
For a grander impact, consider layering your lights. For example, drape net lights over bushes, line pathways with stake lights, and finish with a brightly lit roofline.
Focus on Energy Efficiency
While a bright display is beautiful, it shouldn’t cost a fortune or harm the environment. Stick to LED lights, which use up to 80% less energy than traditional incandescent bulbs. Adding timers can help you control when your display turns on and off, saving both electricity and effort.
Host a Lighting Ceremony
Celebrate the completion of your neighborhood’s holiday transformation with a lighting ceremony. Gather your neighbors, serve hot cocoa, and count down to flipping the switch. Not only does this bring people together, but it also marks the start of a joyful holiday season.
Maintenance Matters
Throughout the holiday season, keep an eye on your display to ensure everything is working properly. Check for burned-out bulbs, secure any loose strands after storms, and clear debris from your lights. Pro tip: Avoid procrastinating when it comes time to remove your lights. Early removal prevents damage from winter weather.
If you’d rather skip the hassle, let Jingle Bulbs Christmas Lighting handle the maintenance and takedown. Their team ensures your lights are carefully removed and stored for the next season.
Let Your Lights Shine Bright
A well-thought-out Christmas lights display can turn your home into the pride of the neighborhood. With careful planning, creativity, and maybe a little professional help, you can create a stunning display that spreads holiday cheer to everyone who sees it.
Ready to dazzle your neighborhood? Contact Jingle Bulbs Christmas Lighting today for a free consultation and let them help you create the brightest, most memorable display on the block.